How To Use Trekpak
So, you need a divider system for your case, and you have stumbled across the Trekpak. The Trekpak is a great option as it is easily customisable (a great reason to keep adding to your gear!). Whether you have just bought a new lens for your camera or you simply just need a space for some spare parts, the trekpak has you covered.
But how do I use it?
It is actually a lot easier than it looks and only consists of 4 easy steps, taking no longer than 10 minutes to install and enjoy.
Step 1: Insert the foam and bumper (if included).

Firstly, open your case and place your bottom layer and lid foam inside. On some inserts, there may be a bumper on the outside to ensure proper fitting. If your case has wheels, there will be square cut-outs which need to be inserted over the wheel arches to create a snug fit. Once you have lined up the 2 pieces correctly, secure them in place using 2 of the pins provided, placing the pin on the join where the 2 pieces meet. Then gently push down and the insert should fall into place neatly.
Step 2: Place your gear inside the case (how you want it laid out).
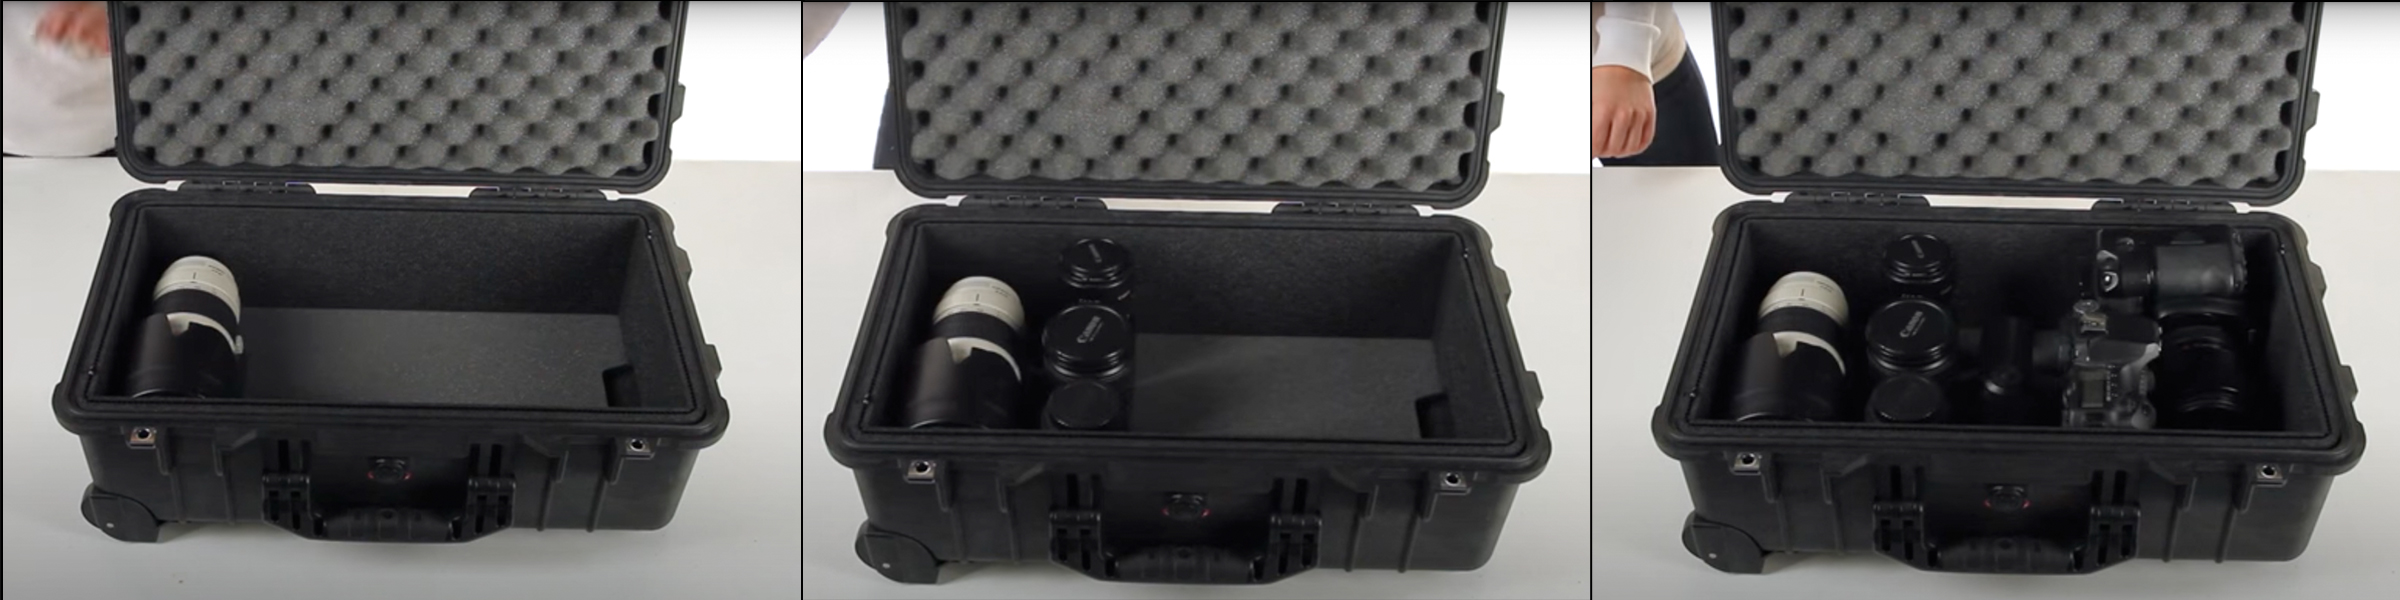
Once you have completed step 1, place your items inside the case in the order you would like them laid out. We recommend largest to smallest to ensure everything fits properly, as you can create gaps for your smaller items.
Step 3: Measure the divider strips around your items and cut them using the provided tool.
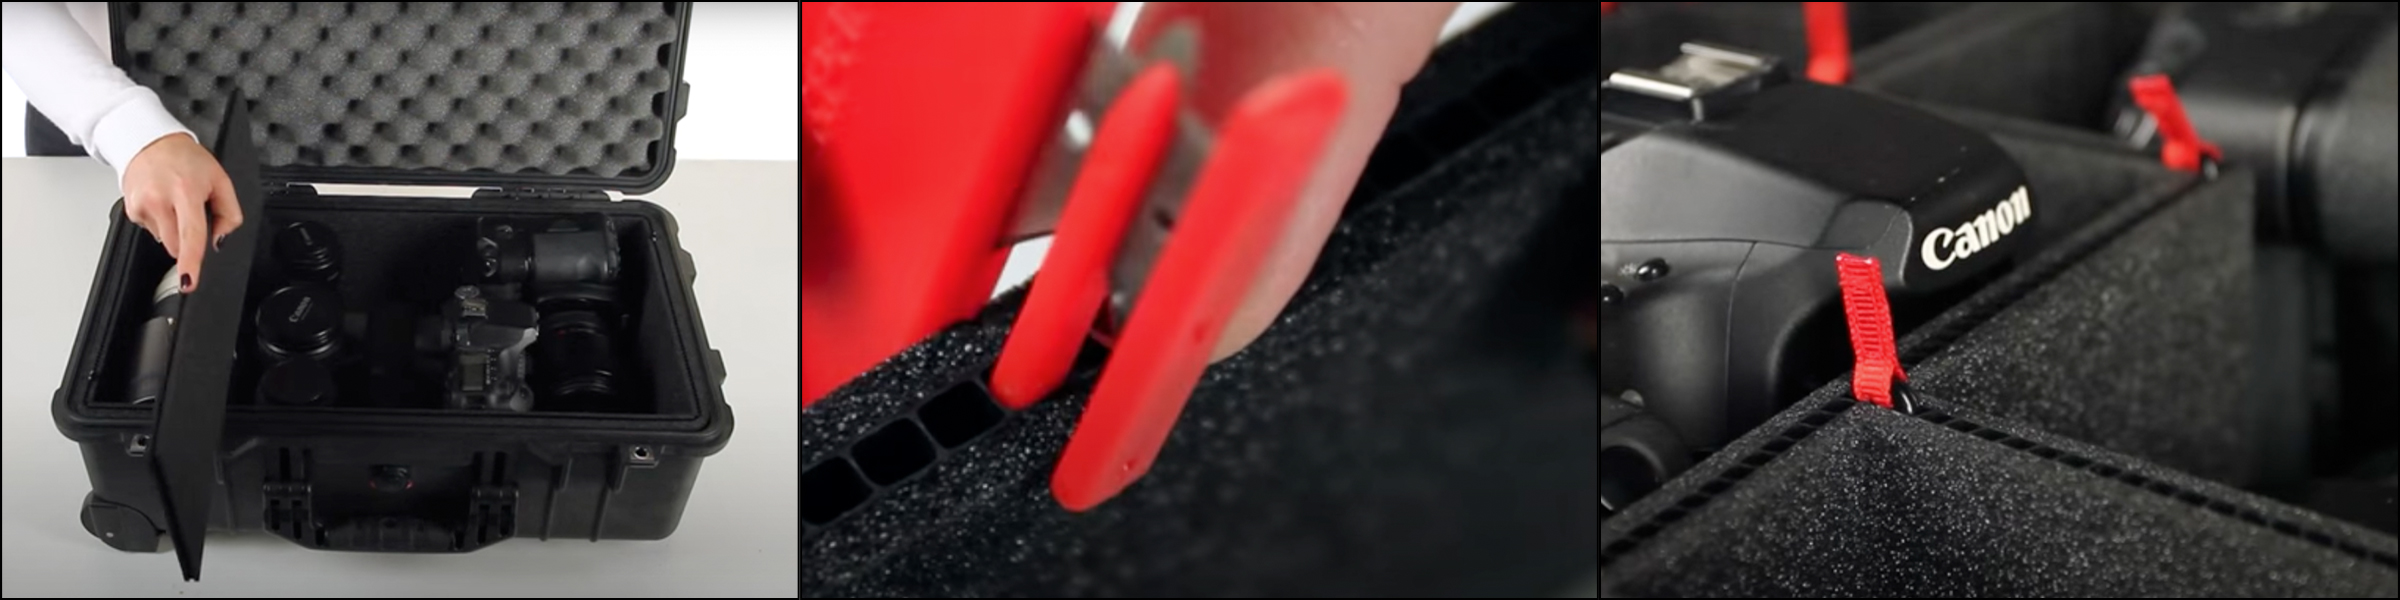
Next, select a divider piece and place it around your items to ensure there is enough space around all of your items to accommodate the dividers. Measure the first divider by placing it against the perimeter and finding which interior section will touch the opposite wall. Place the middle prong of your provided cutter inside the section, lay the divider on a flat surface, and cut straight down. Once you have cut all of your strips and laid them out, secure them in place using the pins provided. Slide the red tabs over the pins for easier grip, so you can remove them whenever required.
Step 4: Place your cut strips around your items and secure them in place using the pins provided.
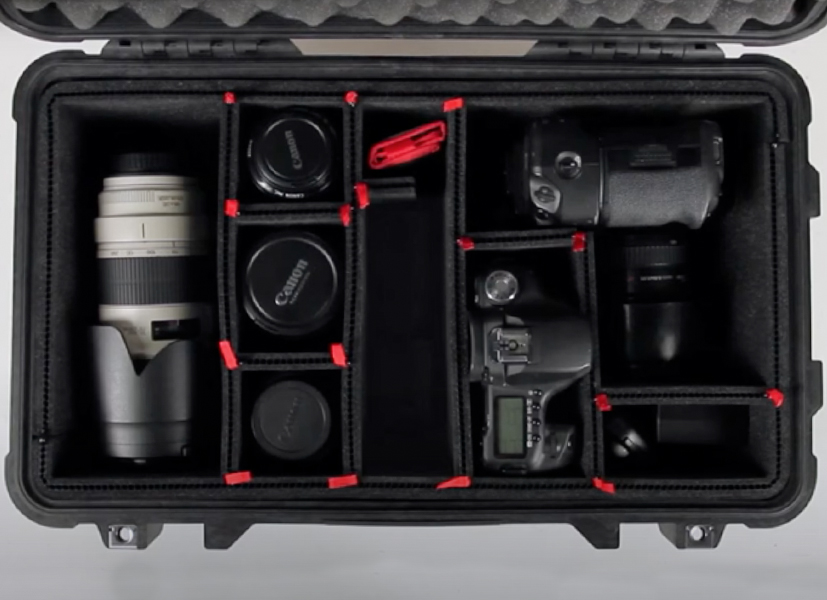
Keep chopping and changing the layout until you are satisfied with your result. Now it is ready for a neat Instagram photo, don't forget to tag us!
Video on How to use the Trekpak
Check out all of our Trekpak range and treat yourself today!